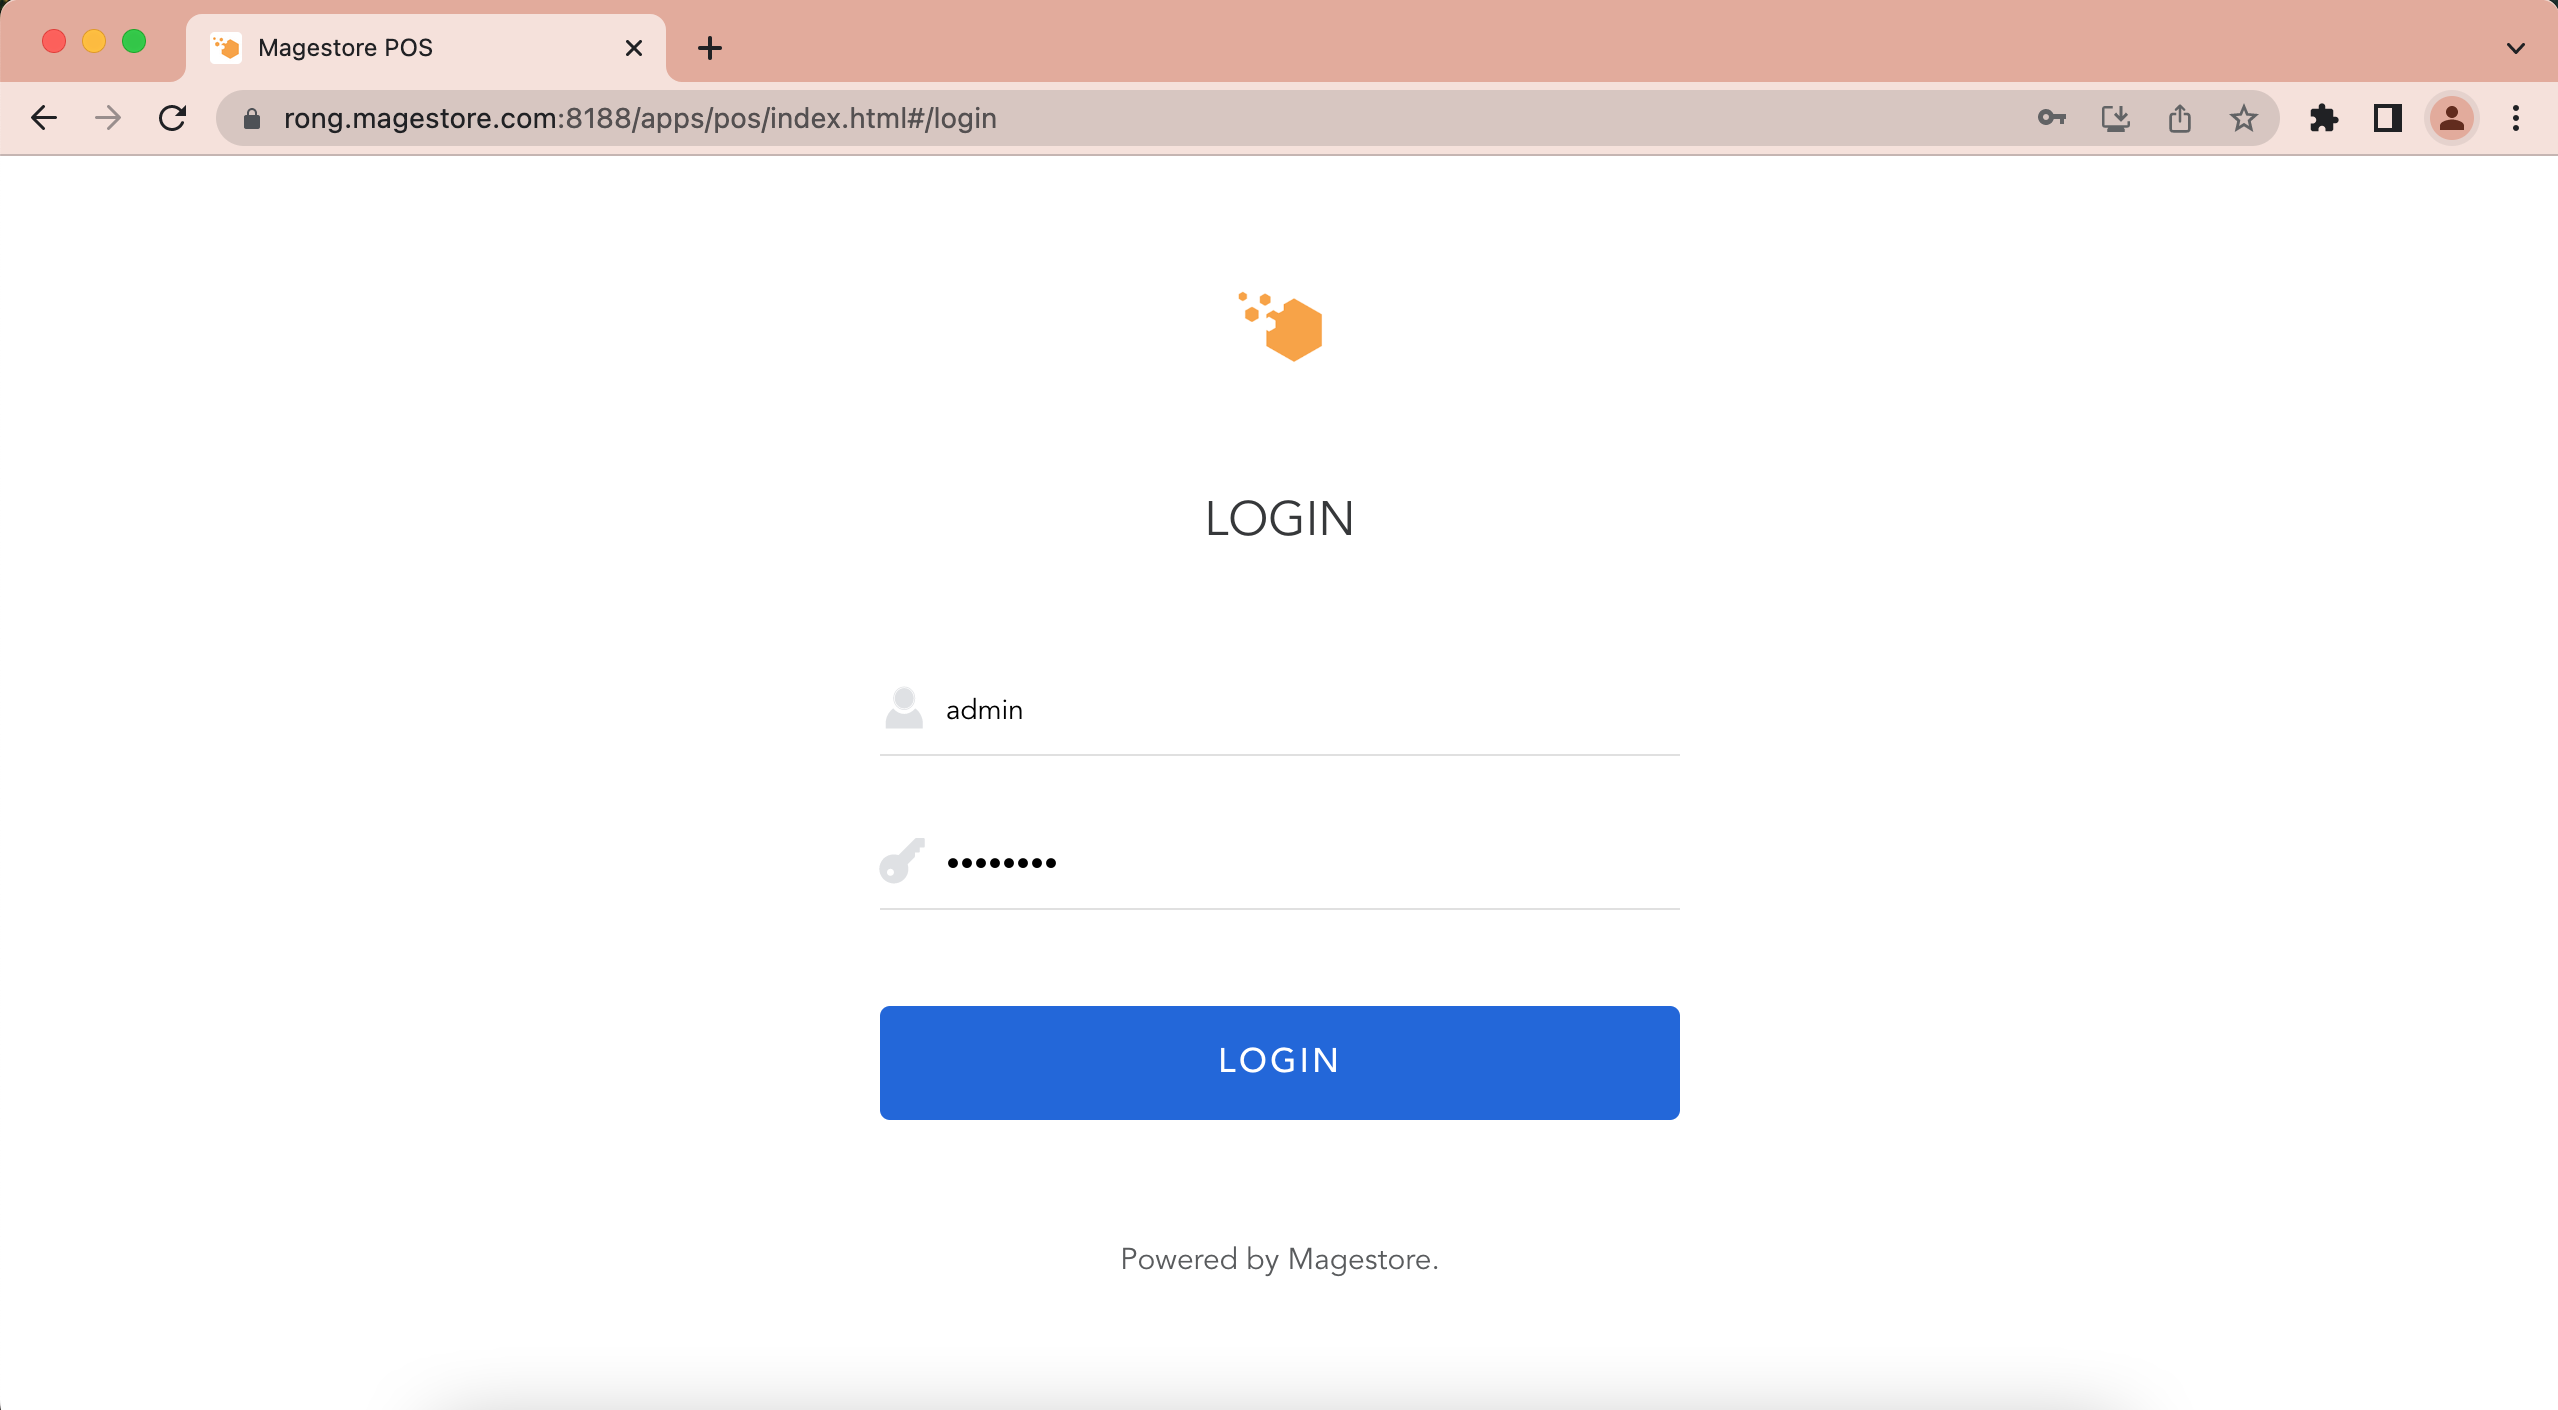
Open browser > Go to POS URL > Login to POS.

Copy and paste the POS URL to another tab of the same browser.
POS Customer Screen is a feature which allows to show some basic order information to customer so that thay can check during checkout process.
Follow path: Backend > POS > Settings > Customer Display Screen to go to POS Customer Screen settings section:
Customer Display Image: used to set up background for the Customer Screen
Enable Customer Screen: used to enable/disable the Customer Screen

Customer Screen = Enabled
Device to use:
- 1 computer with 2 screens connecting via HDMI port.
- Use “Extend” display mode in used device
Note: Refer to
How to connect your laptop to a monitor so you can work from a larger screen https://www.businessinsider.com/how-to-connect-laptop-to-monitor
Open browser > Go to POS URL > Login to POS.

Copy and paste the POS URL to another tab of the same browser.
. Then in the 2nd tab, go to POS Menu > click “Customer Screen” option to open the Customer screen feature

3. Pull the 2nd tab to the 2nd screen connecting with main screen by HDMI port.
4.On your PC, connect 2 screens by Windows + P, and then click on the Extend button.

After that, you need to move the Customer facing screen tab to the 2nd screen as the below video.
2024-04-17_09h34_33.mp45. When processing checkout, from the 2nd screen, customers can view: Name, Product lines (Name, Quantity, Price), Subtotal, Discount, Add shipping, Point Discount, Earning point, Gift card, Total.

In case the configuration Customer Screen = Disabled, when opening Customer Screen” option, there will be a text line “Please enable second screen in config” to notice