...
Customer Display Image: used to set up background for the Customer Screen
Enable Customer Screen: used to enable/disable the Customer Screen
...
Set up and work on POS:
Preconditions:
Customer Screen = Enabled
Device to use:
- 1 computer with 2 screens (computer running POS is the same with the one using 2nd screen)connecting via HDMI port.
- Use “Extend” display mode in used device
...
Note:
...
Log in POS from the 1st screen
...
Use that account to log in POS from the 2nd screen
...
Refer to
How to connect your laptop to a monitor so you can work from a larger screen https://www.businessinsider.com/how-to-connect-laptop-to-monitor
Steps:
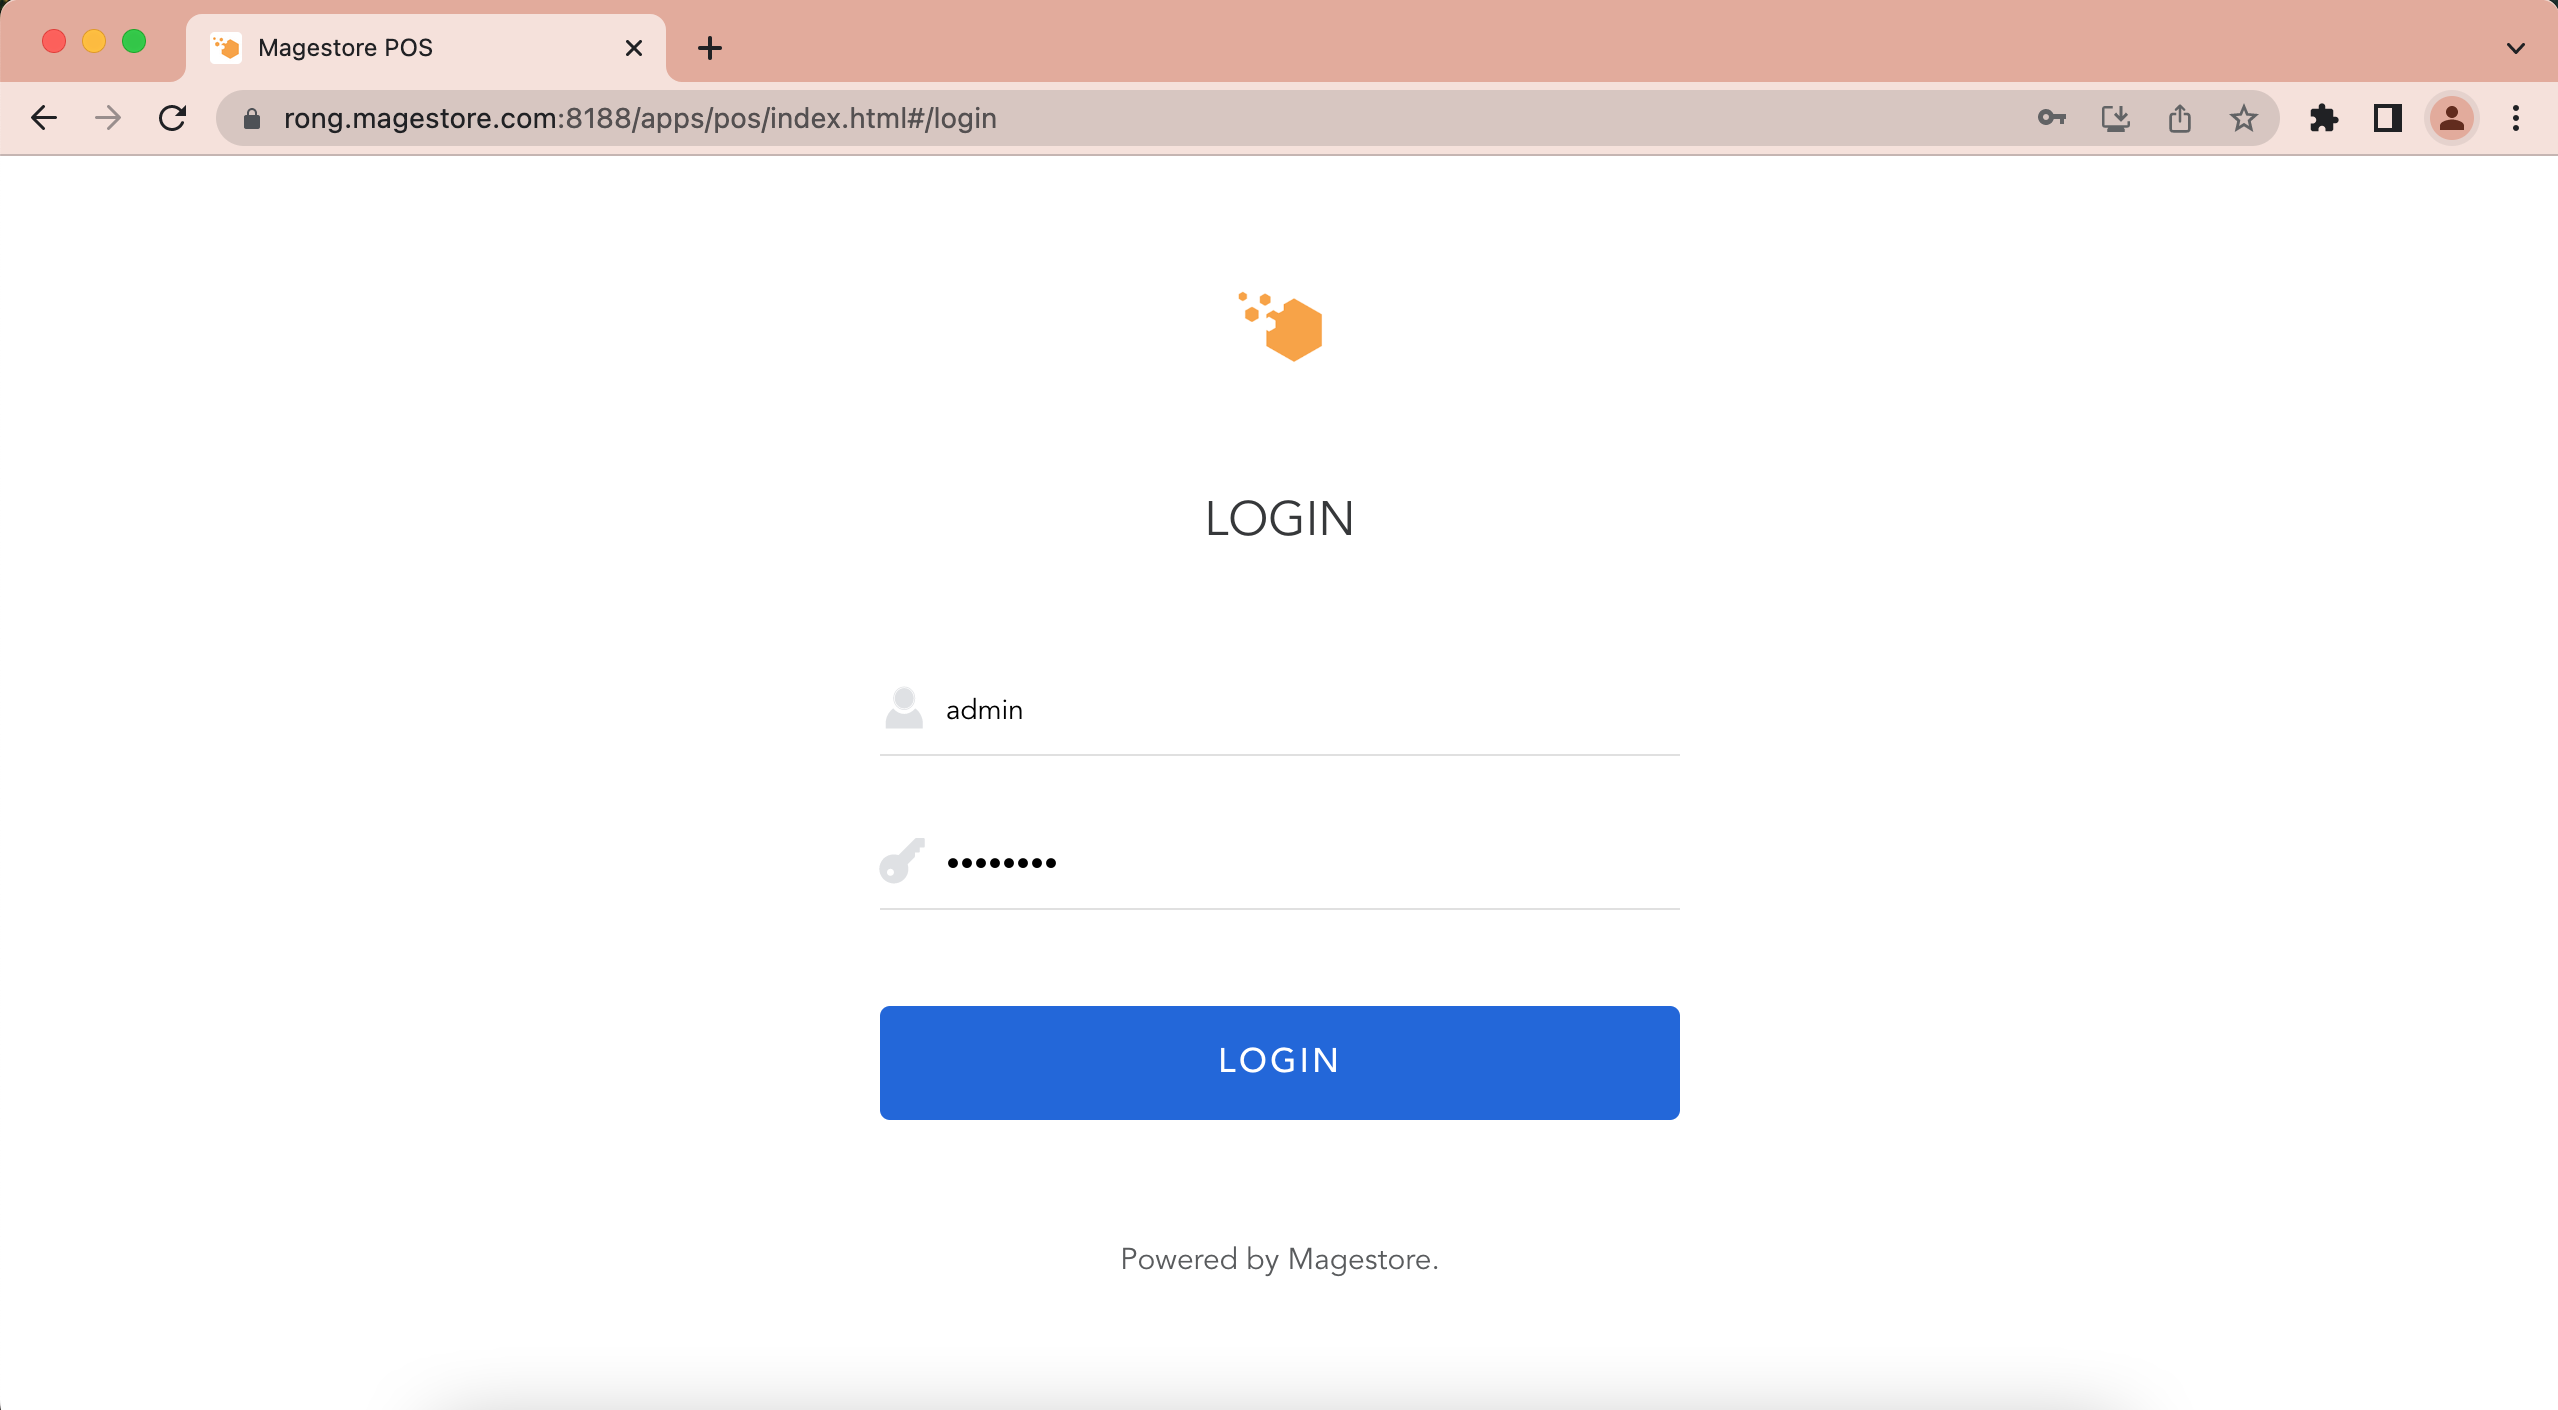
Open browser > Go to POS URL > Login to POS.
Copy and paste the POS URL to another tab of the same browser.
. Then in the 2nd tab, go to POS Menu > click “Customer Screen” option to open the Customer screen feature
...
3. Pull the 2nd tab to the 2nd screen connecting with main screen by HDMI port.
4. When processing checkout, from the 2nd screen, customers can view: Name, Product lines (Name, Quantity, Price), Subtotal, Discount, Add shipping, Point Discount, Earning point, Gift card, Total.
...
In case the configuration Customer Screen = Disabled, when opening Customer Screen” option, there will be a text line “Please enable second screen in config” to notice
...
